Tips For Perfecting Homemade Pasta Sauce

Pasta Sauce

Quality ingredients can make or break your pasta sauce. Freshness is everything. Fresh tomatoes, herbs, and other ingredients are game changers. Go for the freshest options you can get your hands on. If fresh tomatoes aren’t available, reach for high-quality canned ones. San Marzano tomatoes are a solid choice for their rich flavor. To be honest, I generally do not have really fresh heirlooms available to me, so I opt for the canned San Marzano’s often.

Herbs and spices bring life to your sauce. Fresh basil, oregano, and thyme can take your sauce from good to unforgettable. Chop them just before adding them to keep their flavors vibrant. Don’t forget the power of garlic and onions. Sauté these until they’re golden and fragrant – this forms the base of your sauce and adds depth.

The olive oil you choose matters too. Extra virgin olive oil stands out with its robust flavor. It doesn’t just cook your veggies, it adds a layer of richness. Don’t go overboard. Olive oil does have a flavor. It is not a cooking oil, like Canola. They are intentionally less flavorful so that your fried foods will not be affected by the oil taste. So, with Olive oil, take it easy when adding. A few tablespoons are enough to get that smooth, silky texture without making it greasy.

Salt and pepper are your trusty sidekicks, as per usual. Seasoning as you go helps build layers of flavor. Taste your sauce as it simmers and adjust accordingly. Everyone’s palate is different, so go with what tastes right to you.

Mastering the Cooking Technique

Sautéing aromatics like garlic and onions is your first crucial step. Heat your pan, add some olive oil, let it warm, and then toss in your chopped garlic and onions. Keep it on medium heat to avoid burning. You’re aiming for them to turn golden and give off a mouthwatering aroma. This forms a flavorful foundation for your sauce.

Deglazing the pan can add an extra flavor punch. After sautéing your garlic and onions, add a splash of wine or broth to the pan. Scrape up the browned bits stuck to the bottom; that’s where the magic happens. This not only enriches your sauce but also gives it a thicker consistency.

The simmering part is where patience comes in. Unlike boiling, simmering your sauce over low heat allows the flavors to meld together slowly, creating a deeper, more cohesive taste. Avoid the urge to rush this process. Stir occasionally to prevent sticking and burning.

When it comes to reducing, it’s about achieving that perfect thickness without overcooking. Keep the heat low and let the sauce bubble gently. Too high and you’ll end up with a burnt, overly thick sauce. Keep an eye on it, stirring occasionally, to nail that perfect consistency.

Timing and temperature: you want the sauce to cook low and slow to let those flavors develop fully. Rushing it will leave the sauce underdeveloped in taste. Low heat and longer cooking times are your allies in creating a sauce that’s rich, thick, and bursting with flavor.

Adding Personal Touches

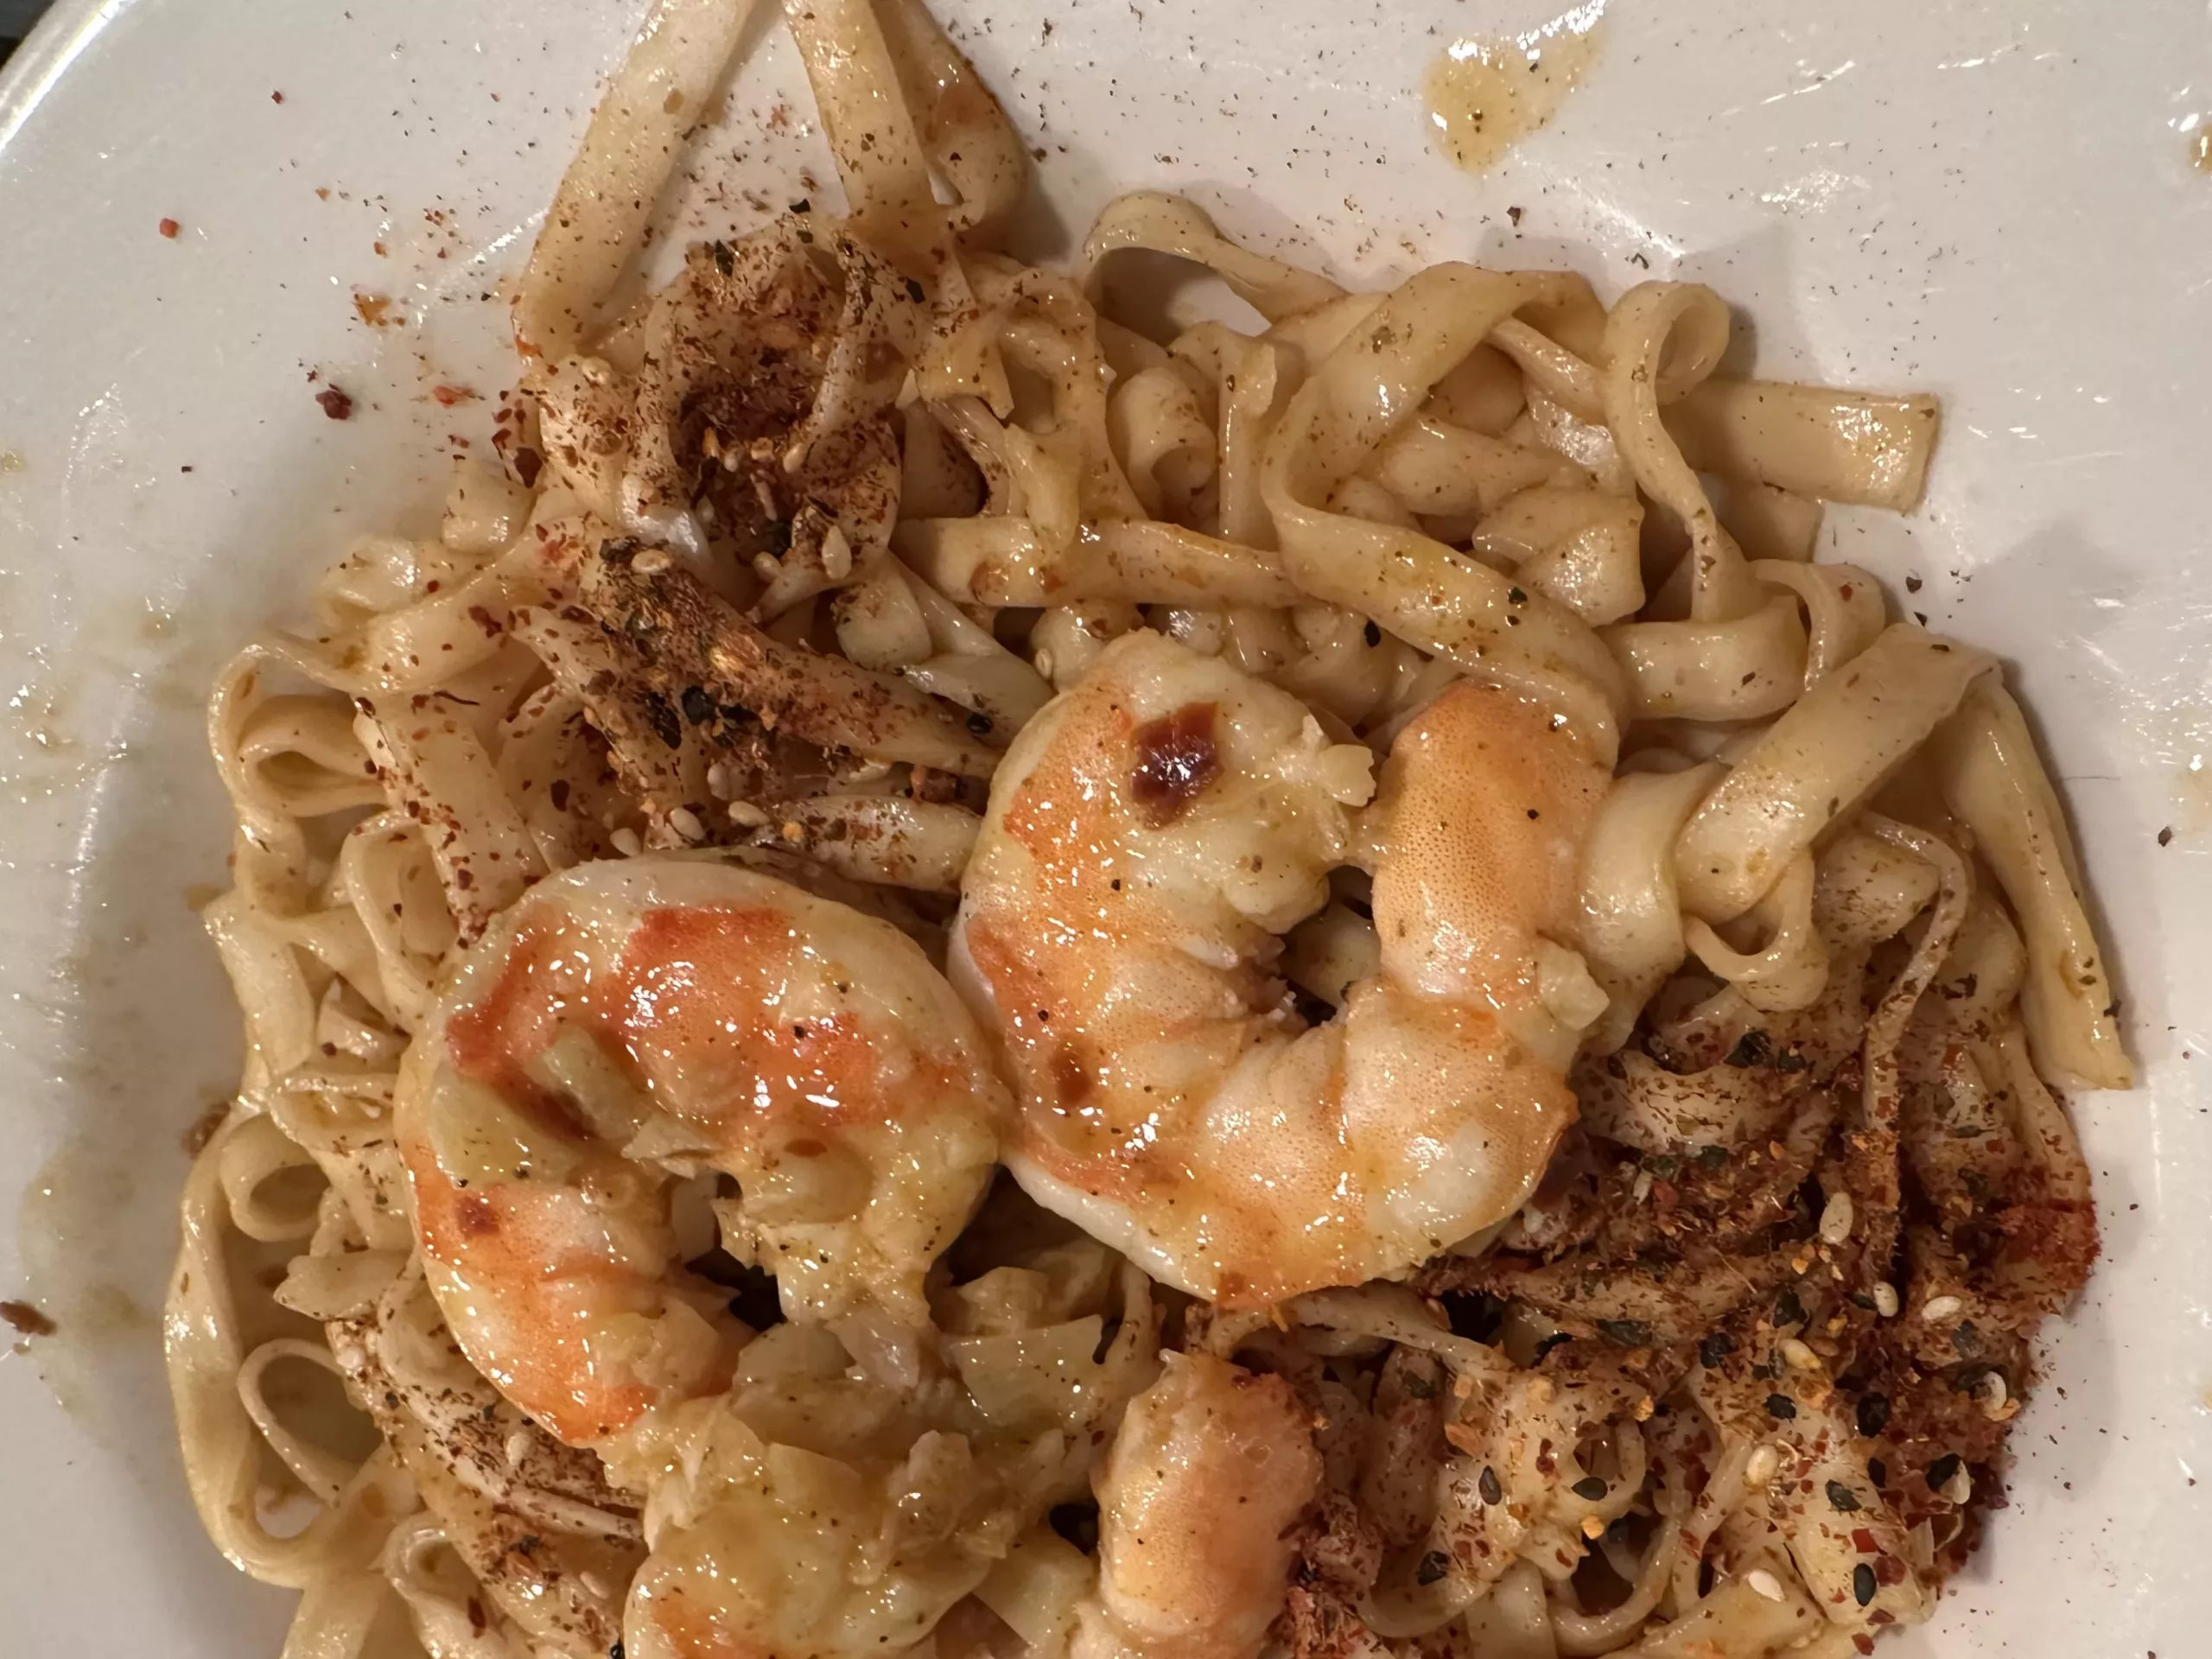
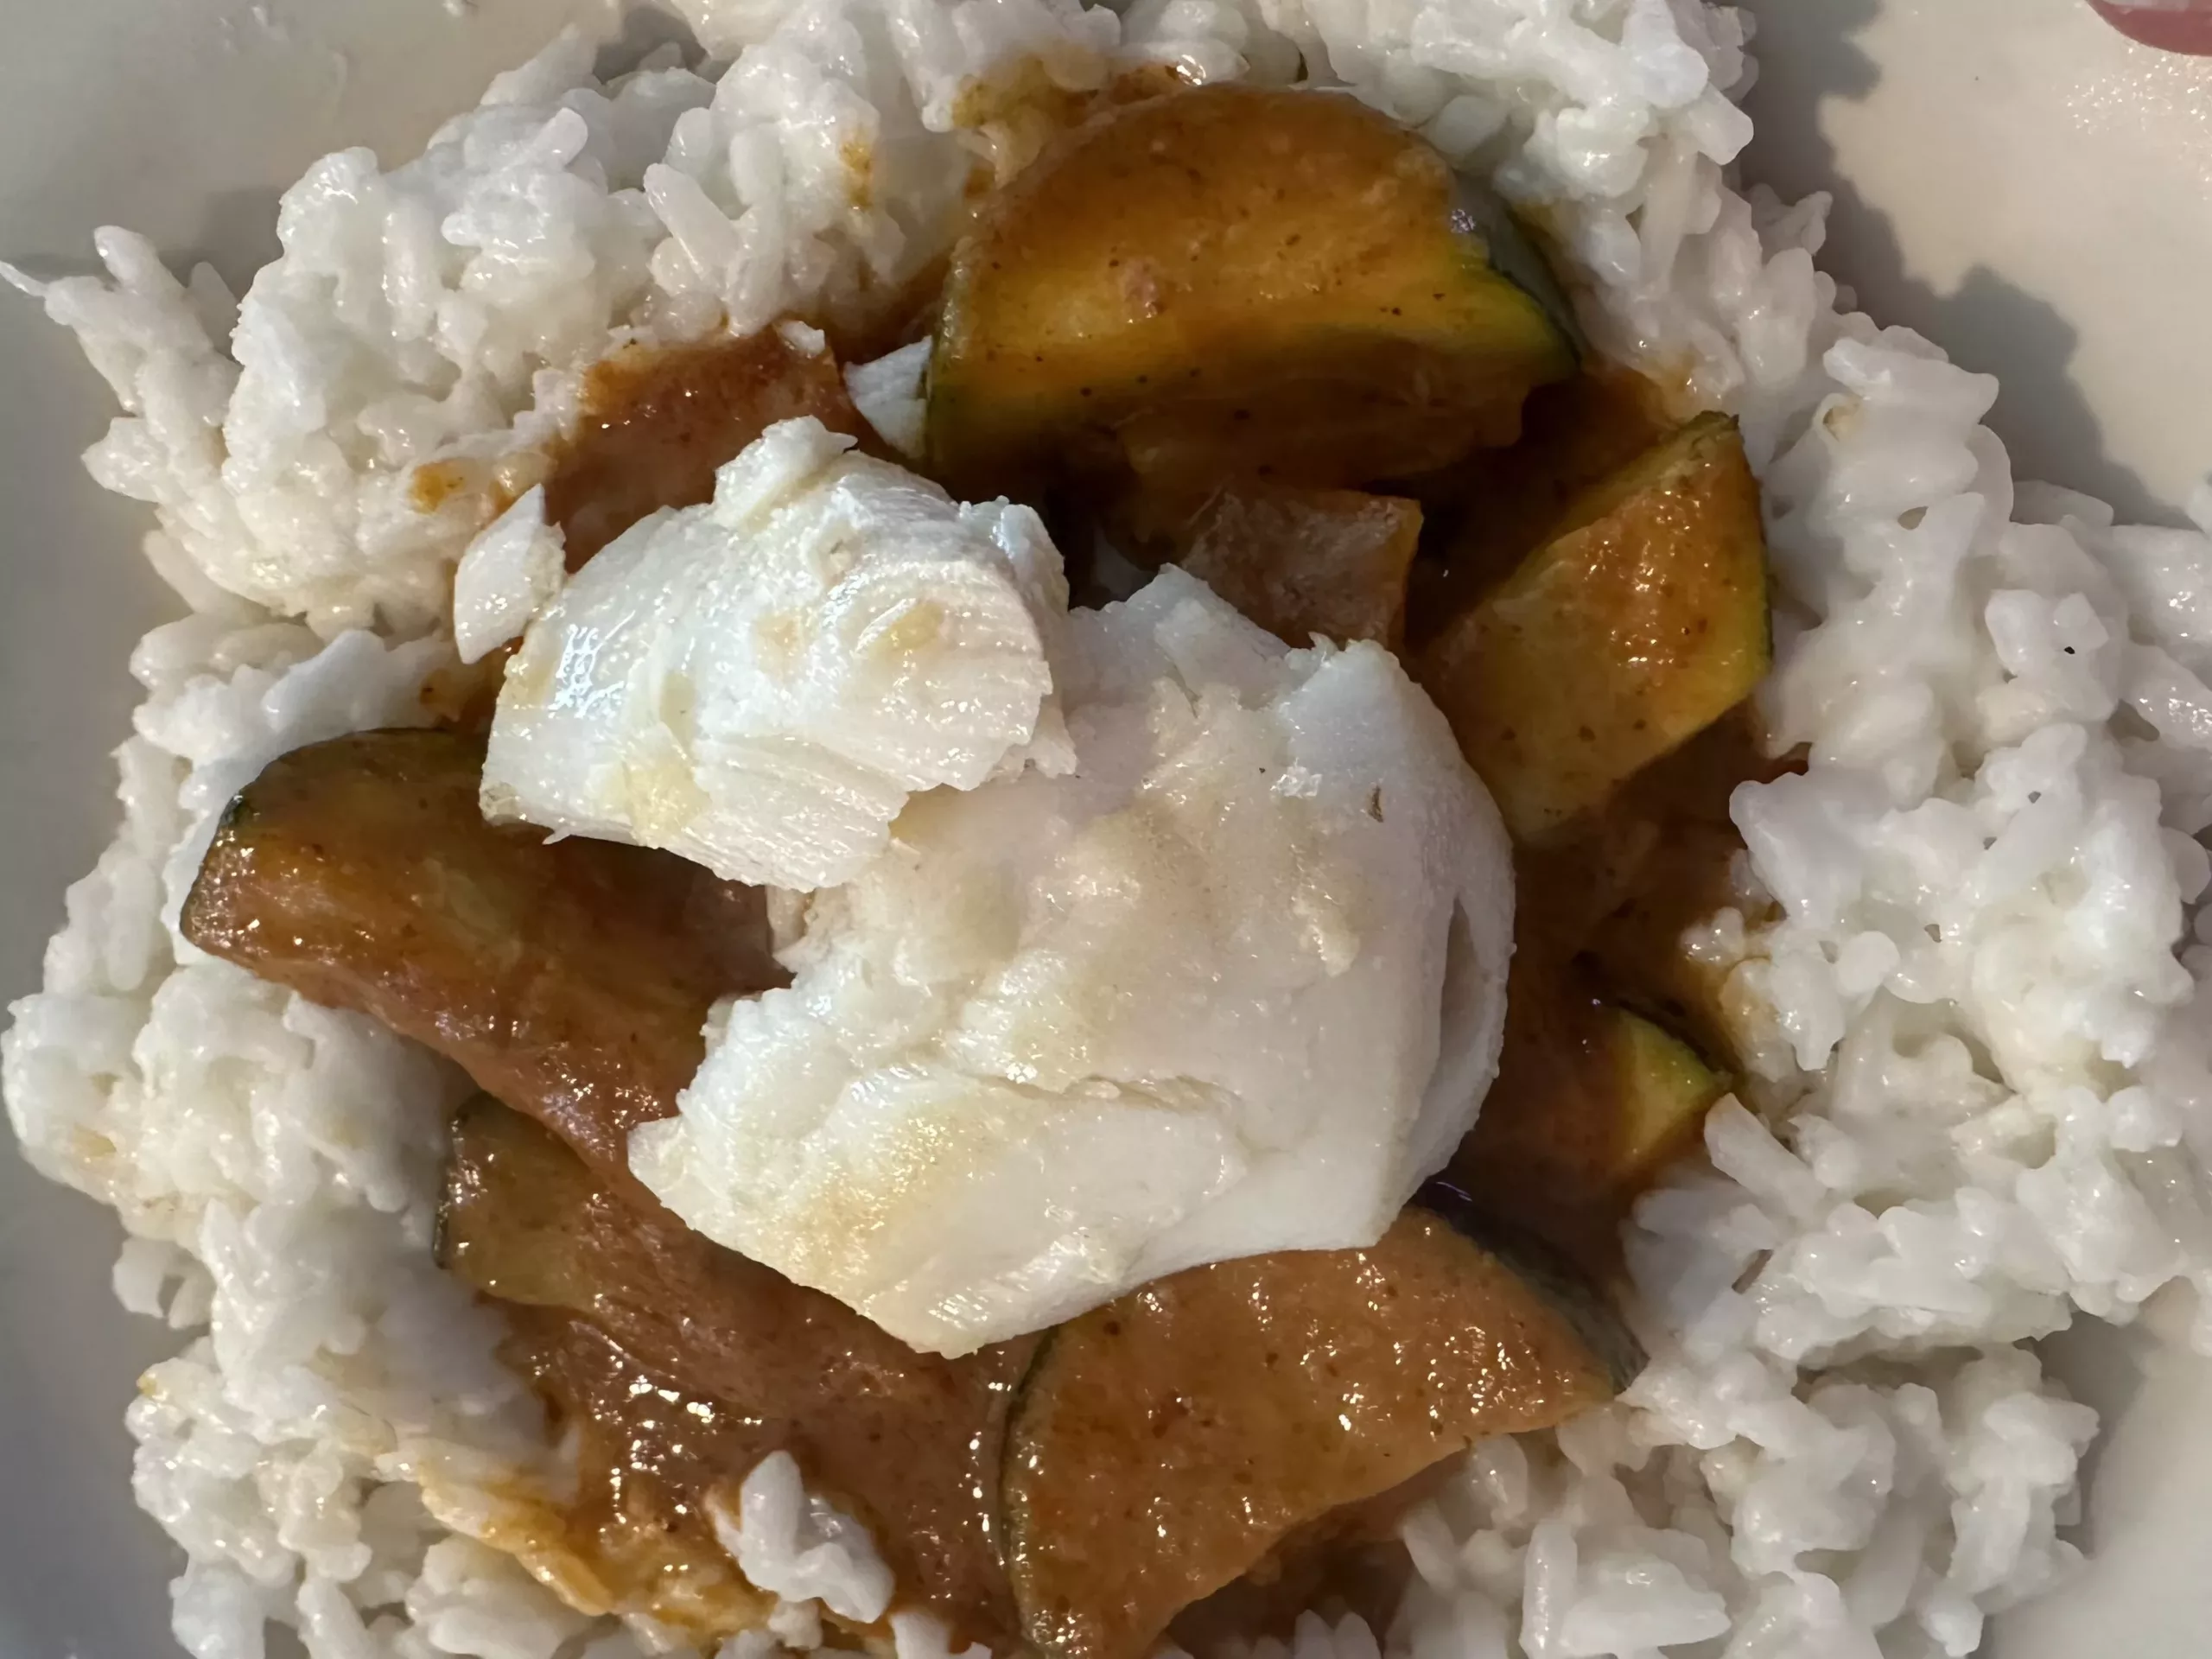
Customizing your pasta sauce can make it truly your own. Adding proteins like meat, seafood, or even plant-based options can make a world of difference. Ground beef, pork, or Italian sausage give a hearty flavor. Seafood like shrimp or clams adds a lighter, oceanic twist. For plant-based choices, mushrooms or lentils work exceptionally well.

Cheese lovers, this one’s for you. Adding cheese can transform your sauce from good to mind-blowing. Parmesan, pecorino, or even a touch of goat cheese can add a new dimension of flavor. Stir it in at the end of cooking to keep that creamy texture.

Wine, broth, or balsamic vinegar can elevate your sauce to new heights. A splash of red wine deepens the sauce’s flavor and richness. Chicken or vegetable broth adds subtle complexity. Balsamic vinegar can provide a tangy sweetness that cuts through the tomato’s acidity.

Don’t underestimate vegetables. Adding vegetables like bell peppers, zucchini, or spinach not only boosts the nutritional value but also adds interesting textures and flavors. Chop them finely or blend them if you prefer a smoother sauce.

Personal touches are what make your pasta sauce unique. Experimenting with different ingredients and finding your special twist can create a signature sauce that’s unforgettable.

Storage and Serving Tips

How you store your homemade pasta sauce can make a big difference in maintaining its flavor and texture. If you’re planning to use it within a week, keep in a sealed container in the fridge. For longer storage, freezing is your best bet. Portion the sauce into freezer-safe bags or containers, and it’ll stay good for months.

Reheating takes some finesse to avoid a watery or overly thick sauce. Thaw frozen sauce in the fridge overnight and reheat gently on the stove over low to medium heat. Stir frequently to keep it from burning and taste to re-season if needed. A splash of fresh stock or a bit of olive oil can help revive the sauce without altering its flavor too much.

Pairing your sauce with the right pasta shapes can make all the difference. Robust, chunky sauces go great with wide noodles like pappardelle or tube-shaped pasta like rigatoni. Smoother, more delicate sauces pair beautifully with spaghetti or linguine. Remember, the pasta shape can affect how well the sauce coats and clings to it.

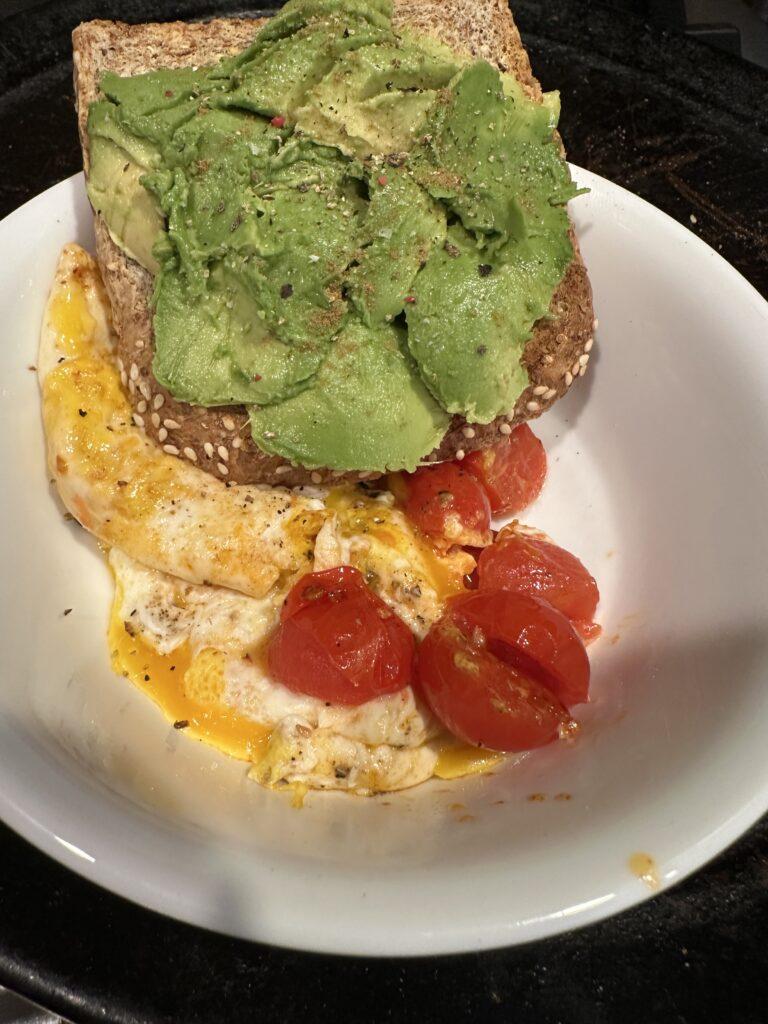
Got some leftover sauce? Get creative. Use it as a base for soups or stews, spread it over a homemade pizza, or even use it to jazz up a grain bowl. Leftover pasta sauce can also be transformed into a dipping sauce for breadsticks or drizzled over roasted veggies for an extra burst of flavor.

Make sure to ENJOY!


Pulled Pork Sandwich

An absolute favorite. Savory, spicy, delicious.

Raw pork shoulder into cast iron dutch oven
Pork in progress
Pork in progress
before stove. Don’t forget pepper flakes for KICK!
3+ hours later, pulled pork is ready
pulled pork is ready
Pulled Pork Sandwich

Ingredients:

  • 3lb pork shoulder/butt. Bone-in preferred but not necessary. Preferably room temp.
    • Note on meat selection: I really try to support sustainable farms whenever possible. The meat is the best you can get and you will taste that in your delicious final product. In this case, I used a should from this farm:
    • https://www.peadsandbarnetts.com/
  • 3 TBSP salt
  • 1 large either yellow or white onion
  • 1 can chopped tomatoes. I prefer organic.
  • 1 cup chicken or beef broth
    • If I don’t have any broth I prepared myself, I use this Better than Bouillon Add 1-2 tsp to warm water, dissolve and add to pot.
  • 2 TBSP freshly ground black peppercorns.
    • Note: Use less if you don’t LOVE pepper.
  • 1 TBSP Pepper Flakes. I use the Flatiron Dark and Smokey for this dish.
  • 1 TBSP Cumin

Instructions:

  • Take meat out of refrigerator and salt entire surface generously, 30 minutes-1 hour, depending how much time you have.
  • Turn on oven to 375F degrees.
  • Heat up your dutch oven, add a little cooking oil and allow both to get hot, ~3-5 minutes.
  • Add pork shoulder and sear on all sides. The more brown, the better. You want to have a brown crust for best flavor in the final product.
  • Remove pork and set aside.
  • Add chopped onions to pot with a little water. Cook on high heat for a few minutes to brown them and deglaze the browned, crusty pork bits from the bottom.
  • Once onions are soft and browned, add pork back into dutch oven.
  • Turn heat to high and begin adding the rest of your ingredients:
    • Can of tomatoes
    • Broth
    • Pepper and Pepper flakes
    • Cumin
  • If these ingredients are surrounding and almost covering your pork, you should have enough liquid for the rest of the cook. Bring them to a boil.
  • Once your ingredients are boiling, cover and place into your preheated oven.
    • A good rule of thumb is cook meat for 1 hour/pound.
    • I check my meat at 2 hours to check that there is still moisture in the pot.
    • Check again at 2.5 hours. The pork should be getting tender enough to pierce with a fork. If so, uncover and turn heat up to 400F.
  • At 3 hours, Remove from oven. Now, you should be able to pull the meat apart to your desired consistency.
    • Not necessary but I like to continue cooking until most liquid is absorbed.

So MANY options now!

Historically, around our house, we use this preparation over several meals. We are only 2 people, so it goes a long way. We use the pork for a traditional pulled pork sandwich, as shown above. We also create pulled pork pizza. AND, we make this pork over noodle dish (with chimichurri). I’ll share these preparations as I build out this site.

Whatever you do with this wonderful braised pork, be sure to ENJOY!!!!

Shrimp Noodles

Hungry and want to eat in about 10 minutes?

Shrimp Noodles
Super Quick Meal of ramen noodles with shrimp

Ingredients:

  • Ramen noodle pack
    • I love these: Momofuku Noodles
      • Try the variety pack of Momofuku noodles I have linked above. All of them are fantastic.
  • Previously Shelled and deveined shrimp.
    • I use frozen ones that prepared and ready to cook.
  • Salt and Pepper
  • To add SPICE! Highly recommended (as I am Pepper and love HEAT). Sprinkle on as much as you can handle. LOL

Instructions:

  • Take shrimp out of freezer, rinse and pat dry. Let them sit.
  • Start water in a small pot.
    • Note: I only use enough to coat the noodles for faster boiling.
  • Start heating the pan for shrimp while you are waiting for water to come to a boil.
  • Once water is boiling, add a teaspoon of salt and stir (optional, but I like to do this to season the noodles themselves).
  • With water boiling and pan hot, start cooking!
    • Add noodles to pot. Cook per package instructions, 3 or 4 minutes.
  • Add butter to hot pan and then add shrimp and sprinkle with salt and pepper.
    • Turn pan to medium-high and cook shrimp for 3 minutes. Turn over and go take care of the noodles!
  • While noodles are draining, take shrimp out of pan. Make sure they are now white and completely cooked (and hopefully, not OVER-cooked). They have likely cooked for at least 4 minutes now.
  • Place noodles into a bowl, add all ingredients, top with shrimp. You are done!

EAT and Enjoy!

Sea Bass with Butter Curry and Rice

Quick yet rich and decadent

I think you will really love this if you are a fan of curries. In this case, I actually purchased the curry sauce. That is how this becomes a rather fast meal.

Ingredients:

  • Any white fish. I love Sea Bass, so I used it here.
  • Store bought butter or masala curry simmer sauce
  • Jasmine rice – I use organic jasmine rice
  • Green Squash cut into half circles
  • Bell pepper cut into bite size pieces
    • Note: I used the above 2 veggies based on taste and texture preference but you may use any vegetable you like.

Directions:

  • Find 2 pans to cook/saute in and 1 pan to boil the rice
  • Chop up all of your selected veggies. In a medium hot pan, toss veggies in with a little butter or oil.
    • Note: Cook until they are tender ALMOST to your liking. You will be cooking further within the sauce in a few minutes. Start your rice using package intructions, except substituting the 1/2 (or more) of the water with coconut milk.
  • Start your pan for the fish.
    • I recommend your fish is at room temp before throwing into pan.
  • Once the pan is hot, add cooking oil and toss fish in. Turn heat to medium-low. Keep fish on one side until it is nearly cooked through. Depending on the fish, this could be anywhere from 3-5 minutes.
  • Add the butter sauce to your veggie pan to allow veg and sauce to marry while also heating up the sauce.
    • Depending on the product you have purchased, you may need to add some water. These curries sometimes come more like a paste than a sauce.
Mid-point! Check all of your pots and pans and ensure they are all being heated nicely but not burning 🙂
  • If your rice is done, let sit while you finish this dish.
  • You can turn over your fish. If it is flakey, it is done.
  • Choose your adventure: You could …
    • Add fish to your pan with veggies and sauce. OR
    • Keep it as a topper as I did (shown in photo)
  • Place a base of rice into a bowl, then ladel on sauce.

End to end, this could take you less than 20 minutes. Not that I am rushing you! Some folks just like to know about a fast meal.

All Done! Great job. ENJOY.

Avocado Toast PLUS

Don’t pay $18. Make this and spend about $3.

Avocado Toast with Egg
Avocado Toast with Egg (that’s the PLUS)

Start to finish, this excellent breakfast should take about 5 minutes to prepare.

Ingredients

  • Slice of any bread of your choice (this one was a seeded wheat)
  • 1/2 avocado
  • 5 cherry tomatoes, sliced in half
  • 1 egg
  • 1 TBSP butter
  • Salt
  • Pepper
  • Cumin (optional)

Directions

I first gather my ingredients. Slice the avocado. Slice tomatoes. Get my trusty egg pan and silicone spatula. Begin warming the butter in the pan. Use a medium to low heat. When the butter is melted, add the tomatoes to allow them soften and get warm. Once they are ready, about 2 minutes, remove to the side. Crack your egg into the same pan. If you dare, go now and drop your toast in your toaster. I like 3 minutes for a pretty brown toast. The time may vary by toaster. Return to your egg. If you are making a fried egg, I go ahead and bust the yolk at this point. You want it to spread through the white, but not make a scrambled egg. Salt and pepper as you like, then flip. With a total cook time of 3 minutes, your egg should be done.

It’s time to assemble. Slather the 1/2 avocado onto the toast. Salt and pepper. I actually add a little cumin, as well. I love the extra earthy flavor bomb it provides. In my photo, you see that I dropped my cooked eggs and tomatoes into a bowl. I wanted to dip my toast in the egg, as I made it over easy on that day. You may like to pile all ingredients onto your toast?

However you build yours, I hope you have had fun! Enjoy. And please feel free to comment.