Simplest “mole” EVER!

Whenever I talk about making mole, people exclaim “it’s too difficult!” Please try this ultra simplified version and let me know what you think.

Note: If you want this with shredded chicken, start that first. See easy instructions below.
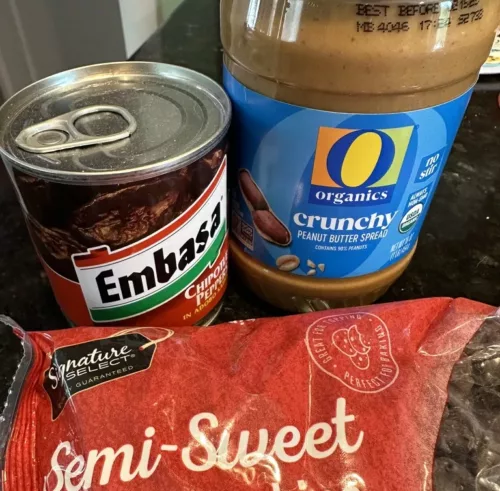
INGREDIENTS

  • 1.5 cups Chicken broth
  • 1/2 can chipotle in adobo
  • 2 TBSP peanut butter, I prefer crunchy
  • 1/4 cup semi-sweet chocolate chips
  • Handful of crunched tortilla chips
    • Note: I didn’t have tortilla chips so I used Garden Salsa Sun Chips
  • 3 tsp salt
  • 1 tsp cumin
  • 1 tsp freshly ground black peppercorns
  • 1 tsp garlic powder
  • 1 tsp pepper flakes
  • pinch of cinnamon (optional)
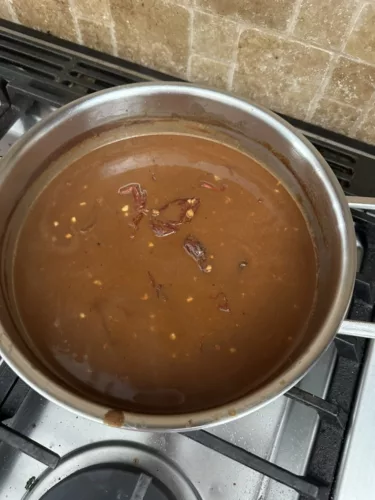
INSTRUCTIONS

Once you have all of your ingredients gathered, simply throw them all in a nice saute pan on pretty low heat to gently simmer all of the yummy flavors together. Keep a close eye on the saute pan at first, stir frequently, to ensure that chocolate does not stick to the bottom. If is it doing so, turn down the heat. Let this sauce simmer about 15-20 minutes. Once it is the consistency of molasses, it is ready to eat. Have it on anything you desire!

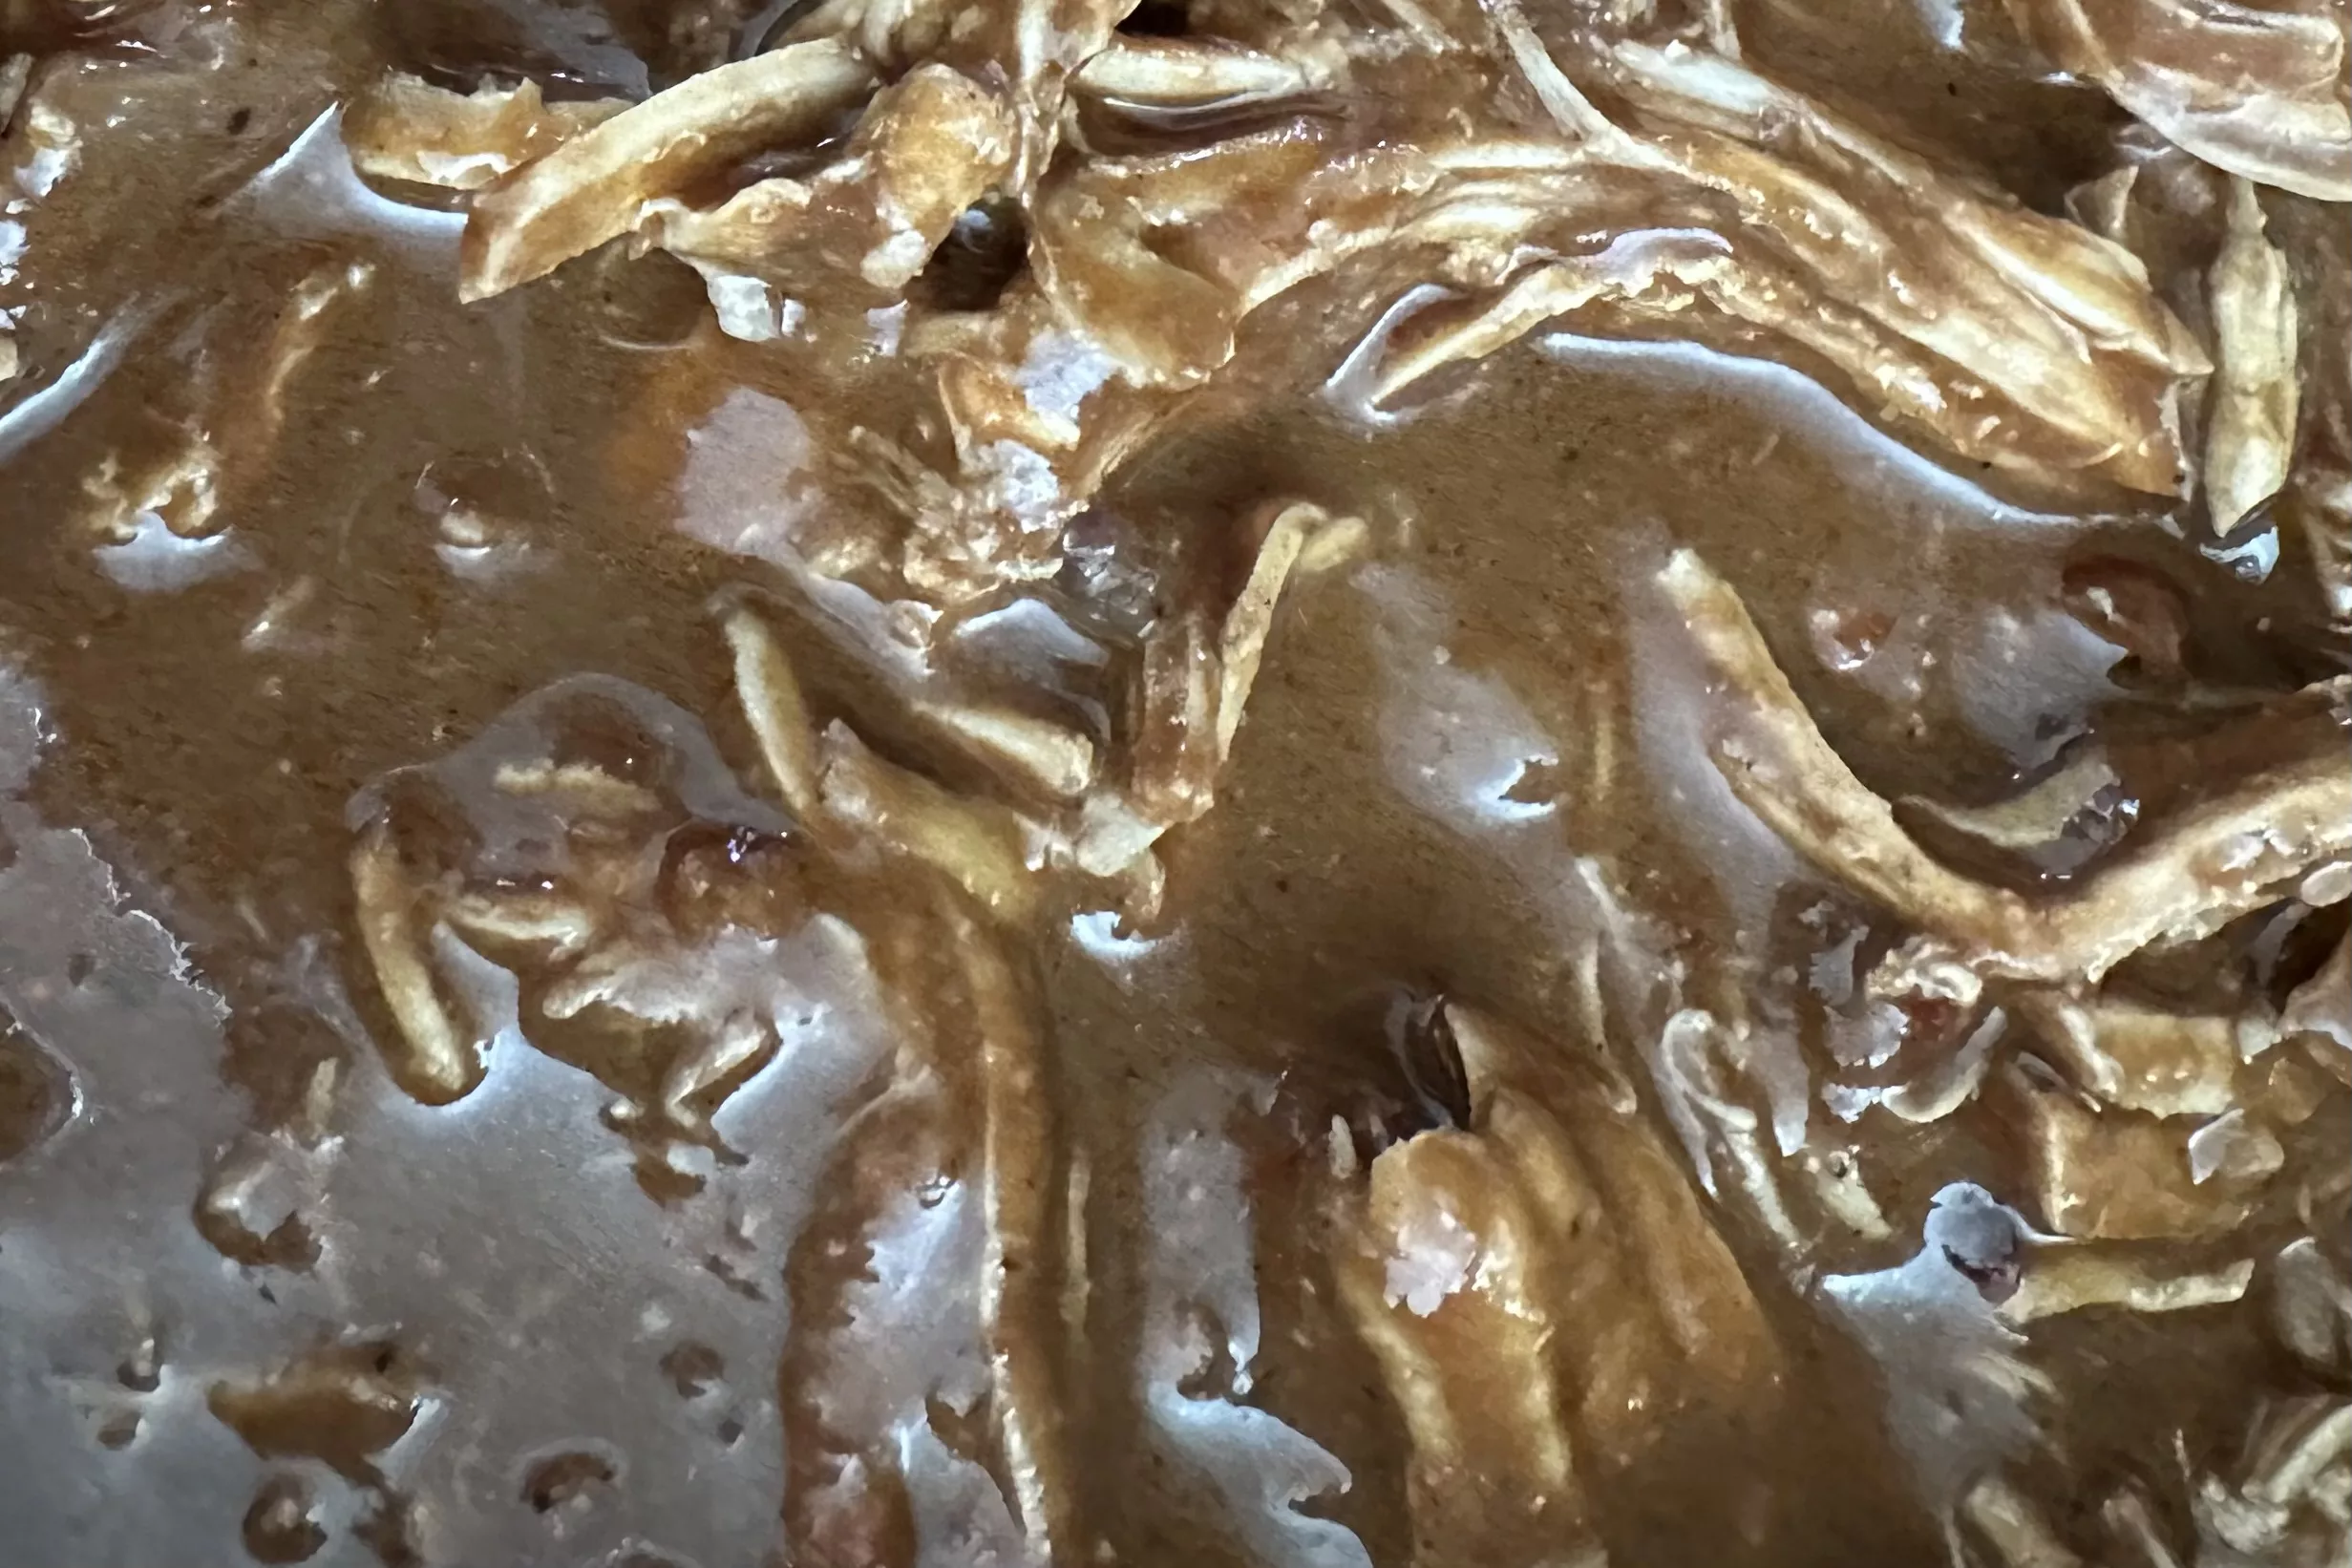
I love adding in shredded chicken and making burritos.

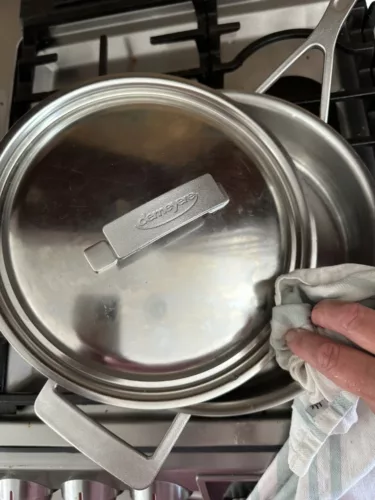
If you do not have a quality saute pan but want one, definitely think about buying the Demeyere. It has no rivets, so clean-up is very easy and it distributes the heat so well.

IF you want to add chicken?

I highly recommend using an Instapot. For ratio that works well with the quantity of mole in this post, simply place 2 chicken breasts in the Instapot and cook on poultry. I add some cloves of garlic and salt, but you don’t HAVE to. When the pot is finished, hopefully, the chicken is ready to shred. Just take a couple of forks and pull it apart. Add to mole. YUM

Please ENJOY!

Epiphany of the day

Hey there! I was trying to make use of some inherited can beans today. My first order of business was to make refried beans to add to some mole that I had made previously. Had burrito in mind! Then, I realized that refried beans and bean dip are basically the same thing. Yes? No?

Refried Beans < = > Bean dip???


Funny how those little concepts just pop into your mind at times. I thought it was fun.

What did I do? Here’s the Recipe

  • Rinse beans (optional)
  • 1 tsp Chicken base
  • 2 TBS water
  • 1 tsp salt
  • 1 tsp garlic powder

Just heat over medium heat. Mash up with potato masher or fork. Simmer down until desired consistency. ENJOY!

Beans for refried bean preparation
Beans for refried bean preparation. Beans straight out the can. These are called European Soldiers. The final product was rich and excellent.

Caramelized Onions

I’m going to take you through the transformative process that turns simple onions into a rich, sweet, and flavor-packed ingredient called caramelized onions. This isn’t just about tossing onions on a hot pan, it’s also about the art and science that go into achieving that perfect golden-brown deliciousness.

Choosing the Right Onion: Every variety, from sweet Vidalias to sharp red onions, can affect your final dish in a unique way. Just experiement with different varieties to suit your taste.

Here’s a Step-by-Step Guide to Caramelizing Onions. This includes the patience needed for slow cooking, the right amount of fat to use, and the ideal heat level. You might be surprised to learn that the process takes some time, but the result is utterly worth it.

  1. Slice onions. Start with 1 medium to large white or yellow onion (my favorites) and slice lengthwise. Heat a pan on medium-high heat and add in about a tablespoon of olive oil. Tip: I also use a little butter for extra flavor. Use a big pan so that the onions have room to do be free and not overcrowded. Just be aware that the onions will shrink down significantly when caramelized. That’s okay! It’s how they obtain all of that flavor.
  2. Salt generously. Salt assists in pulling out water and leads to the lovely browning.
  3. Allow the onions to sit and think about what they are doing for a few minutes between stirs. As long as your pan isn’t TOO hot, they shouldn’t burn. As the onions soften, you might add a little water so that the onions can spend more time “reducing” and browning in the pan. This can take 15-30 minutes depending on the amount of onion you use and how hot your pan is.
  4. Add other flavor, if you like. You might add more salt, some pepper, garlic powder, etc.
  5. Once the onions are brown and super soft, they are ready.
Caramelized Onions
Caramelized Onions
Sweet and Savory

Don’t worry too much about making mistakes.

Just a fun fact: while caramelized onions add a flavor boost, they’re also good for you. They bring vitamins and antioxidants to the table, making them a delicious and healthy choice.

Bonus tidbit! Understanding the Chemistry: The Maillard Reaction is at the heart of caramelizing onions. It’s a complex process where the naturally occurring sugars in onions break down and react with amino acids when heat is applied. This reaction is what gives caramelized onions their distinct taste and deep brown color. See my post about the Maillard Reaction if you are a science geek like me, or simply interested.

In my opinion, caramelized onions are a magical addition to so many foods preparations. Enjoy the journey!

Don’t hesitate to share your creations and how it went. I’d love to hear your feedback, so leave your comments and let’s keep the conversation going.

Enjoy!

Roasted Garlic Easy Delicious

Talk about beginner chef recipes. This garlic preparation is very simple and you will LOVE the outcome.

So, SO, simple and delicious.

Yummy roasted garlic

Just peel, cut off tops, sprinkle with salt, and pepper. Drizzle with olive oil. Place in 375F oven for about an hour.

When soft to touch (squeeze), remove from oven and let cool. Once you can hold without burning your fingers off, press/squeeze the garlic out of the bulbs, You should see squishy, lovely cloves like shown in the photo above.

From there, S&P (salt and PEPPER) as you wish, Smash, if you like. Whatever you do with it. ENJOY!

Biscuits!

Savory Biscuits – My specialty

These biscuits are so good, I have people demanding them regularly. I mean, BACON, onions, cheese. What’s not to love?

Hop into my belly! This will only take you about 30 minutes.

Chefani’s Special Biscuits

  • 1.5 cup all purpose flour 
  • .5 cup crispy, chopped bacon – I prefer hickory smoked, thicker cut for these biscuits
  • 3/4 cup caramelized onion 
  • 1.5 tablespoon baking powder 
  • 1.5 cup cheese – use anything you like or have around but I prefer cheddar
  • 2 teaspoon salt
  • 2 teaspoon garlic powder 
  • 2 teaspoon red pepper flake 
  • 1 tbsp sugar
  • 1 stick of BUTTER – I place stick in the freezer for 30 minutes before cutting into flour
  • 1/2-1 Cup Milk or buttermilk – Depending on the flour and milk you use, you may need an inexact amount

Directions: This takes a little pre-prep.

  • Cook bacon to pretty crisp. Allow to cool. Chop into small pieces.
  • Carmelize onions and set aside. See my related blog for instructions.
  • After these items are ready and waiting, place oven on 450F. It takes a while to heat that much. Wait about 10 minutes to begin biscuit prep.
  • Gather all of your ingredients and tools and get ready to mix!

Other items needed:

  • Baking sheet pan. 1/2 size is enough for this small recipe
  • Parchment paper to line pan
  • Butter cutter or knife and fork
  • Medium (or larger) bowl

Start with placing dry ingredients into your mixing bowl. Just toss them all in the bowl. I give them a stir to combine. Begin chopping in the cold butter (it’s actually called a pastry cutter but I use it to cut up the butter). Add in the cheese, bacon, and onions. I use my hands to mix. It’s a chunky, thick affair! Now, slowly add milk to the mixture. You want to keep the dough kind of dry. Once your mixture holds together but does not feel wet, you are ready to start forming the biscuits.

You can make 4-12 biscuits depending on the size you form. Place them on your parchment lined baking sheet and put in the oven for 10-13 minutes. Again, the size will determine total time. When they are golden brown on top, just check with toothpick test.

ENJOY!!!!